

Categories
Blog Posts Newsletters Product Tutorials Recipes and Tips Videos

How to Make Frozen Yogurt

How to Make Frozen Yogurt: Tart, Customizable & Dairy-Free Frozen Yogurt

Itaberco Frozen Yogurt Mixes & Flavor Compounds

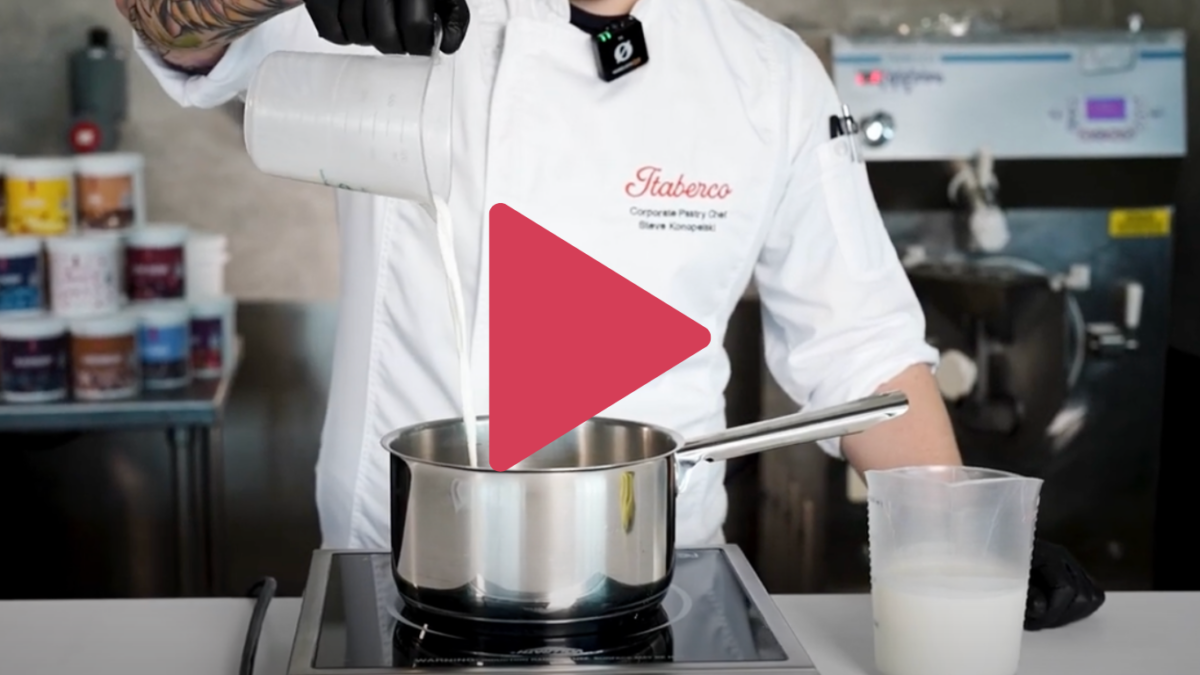
Learn how to make three styles of frozen yogurt using Itaberco Frozen Yogurt Mixes: classic Tart Frozen Yogurt, customizable Neutral Frozen Yogurt, and plant-based Dairy-Free Frozen Yogurt. In this step-by-step tutorial, Chef Steve walks through the batching, blending, resting, and freezing process for each base, along with options for adjusting richness and creating custom flavors. Each Itaberco Frozen Yogurt Mix is formulated to provide the proper balance of sugars, solids, sweeteners, and stabilizers, giving operators a consistent foundation while leaving room for flavor creativity. Pair each base with Itaberco Flavor Compounds, toppings, sauces, and fruit fillings to create everything from nostalgic frozen yogurt flavors to more modern, signature menu concepts.

Create a rich, naturally tart frozen yogurt, or incorporate fresh yogurt for a creamier texture and more traditional yogurt profile.

Ingredients:

Instructions:

Step 1: Combine the ingredients.

➤ Add the Itaberco Tart Frozen Yogurt Mix to 1 gallon of whole milk.

Step 2: Optional: Add fresh yogurt.

➤ For a creamier texture and stronger yogurt profile, replace up to 900 g of the whole milk with plain fresh yogurt.

Step 3: Blend for at least 90 seconds

➤ Using an immersion blender, blend continuously for a minimum of 90 seconds. This fully incorporates the mix and properly hydrates the sweeteners and stabilizers.

Step 4: Cover and chill.

➤ Cover the mixture tightly and refrigerate for a minimum of 4 hours or up to 24 hours. The mixture will naturally thicken as the stabilizers fully hydrate.

Step 5: Reblend before freezing.

➤ Blend the chilled mixture again to ensure everything is fully incorporated.

Step 5: Freeze in your soft serve machine.

➤ Pour the mixture into the hopper and process according to the equipment manufacturer’s instructions.

Itaberco Neutral Frozen Yogurt Mix creates a light, classic frozen yogurt base that can be served as-is or customized with Flavor Compounds to create signature flavors.

Ingredients:

Instructions:

Step 1: Choose your milk.

➤ Combine the Neutral Frozen Yogurt Mix with 1 gallon of skim milk* for a lighter, nostalgic frozen yogurt profile. 

*For a richer and creamier texture, use 1 gallon of whole milk instead.

Step 2: Add flavor if desired.

➤ Customize the base with an Itaberco Flavor Compound. Try familiar profiles such as Peach or Strawberry, or create more distinctive flavors such as Vanilla, Brown Butter or Ube.

Step 3: Blend for at least 90 seconds

➤ Using an immersion blender, blend continuously for a minimum of 90 seconds. This fully incorporates the mix and properly hydrates the sweeteners and stabilizers.

Step 4: Cover and chill.

➤ Cover the mixture tightly and refrigerate for a minimum of 4 hours or up to 24 hours. The mixture will naturally thicken as the stabilizers fully hydrate.

Step 5: Reblend before freezing.

➤ Blend the chilled mixture again to ensure everything is fully incorporated.

Step 5: Freeze in your soft serve machine.

➤ Pour the mixture into the hopper and process according to the equipment manufacturer’s instructions.

Create a light, plant-based frozen yogurt using Itaberco Neutral Dairy-Free Frozen Yogurt Mix and water, or use oat milk for a richer and creamier finished product.

Ingredients:

Instructions:

Step 1: Choose your milk.

➤ Combine the Dairy-Free Frozen Yogurt Mix with 1 gallon of water for a lighter frozen yogurt.

*For a richer and creamier texture, use 1 gallon o

Step 2: Customize the flavor.

➤ Pair the base with Itaberco Flavor Compounds. Fruit flavors such as Sour Cherry or Passion Fruit create bright, refreshing options, while oat milk pairs especially well with more indulgent profiles such as Cinnamon Roll or Espresso.

Step 3: Blend for at least 90 seconds

➤ Using an immersion blender, blend continuously for a minimum of 90 seconds. This fully incorporates the mix and properly hydrates the sweeteners and stabilizers.

Step 4: Cover and chill.

➤ Cover the mixture tightly and refrigerate for a minimum of 4 hours or up to 24 hours. The mixture will naturally thicken as the stabilizers fully hydrate.

Step 5: Reblend before freezing.

➤ Blend the chilled mixture again to ensure everything is fully incorporated.

Step 5: Freeze in your soft serve machine.

➤ Pour the mixture into the hopper and process according to the equipment manufacturer’s instructions.

Once you have your base, use Itaberco Flavor Compounds, Toppings, Sauces, and Fruit Fillings to add flavor, texture, color, and visual appeal. From classic fruit and vanilla profiles to plant-based options and more unexpected flavor combinations, these three bases give operators a flexible starting point for building a frozen yogurt program around their concept and customers. In this step-by-step tutorial, Chef Steve walks through the batching, blending, resting, and freezing process for each base, along with options for adjusting richness and creating custom flavors. Each Itaberco Frozen Yogurt Mix is formulated to provide the proper balance of sugars, solids, sweeteners, and stabilizers, giving operators a consistent foundation while leaving room for flavor creativity. Pair each base with Itaberco Flavor Compounds, toppings, sauces, and fruit fillings to create everything from nostalgic frozen yogurt flavors to more modern, signature menu concepts.

Categories
Newsletters Videos

How to Make a Scoopable Milkshake (Itablizzy)

How to Make a Scoopable Milkshake (ItaBlizzy) With Your Soft Serve Machine

Itaberco Soft Serve Mix & Flavor Compounds

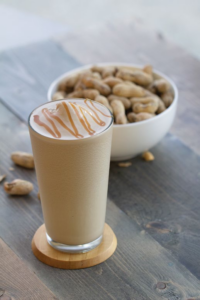
Whether you call it a thick shake or an "Itablizzy," creating the perfect scoopable milkshake comes down to balancing texture and flavor. Using Itaberco's premium soft serve mixes, flavor compounds, and gourmet sauces, this tutorial provides a master technique for serving indulgent, highly customizable frozen treats with rich flavor and flawless consistency.

📍Ingredients:

Instructions:

Step 1: Prepare the Base

➤ Weigh out approximately 450g of prepared soft serve in a stainless steel blending cup.
➤ Pour in 50g of half-and-half. Note: Using homogenized half-and-half helps prevent iciness during blending and makes it easier for the machine to blend smoothly.

Step 2: Add Flavor Compound

➤ Add your Itaberco flavor compound of choice, targeting a starting ratio of approximately 4% relative to the weight of your ingredients.

➤ For a base of 450g soft serve and 50g half-and-half (500g total), 4% equals 20g of flavor compound. Note: You can always add more compound if a stronger flavor profile is desired.

Step 3: Layer and Blend (Parfait Style)

➤ If adding inclusions for texture and flavor (such as cookie pieces or nuts), layer them into the cup like a parfait: inclusions, soft serve, more inclusions, remaining soft serve, half-and-half, and flavor compound.

➤ Blend until uniform.

Step 4: Adjust and Finish

➤ Check the consistency after blending. Stir in a small amount of additional half-and-half if too thick, or add extra soft serve if a firmer texture is needed.

➤ Transfer to a serving glass.

Step 5: Garnish and Serve

➤ Drizzle the sides or top with Itaberco Toppings and Sauces (such as Peanut Butter or Chocolate Craft Sauce).

➤ Top with whipped cream, additional inclusions, and serve with a spoon.

Notes:

➤ Soft serve forms a smooth, versatile foundation, while Itaberco flavor compounds deliver bold flavor without compromising the frozen balance or texture.

➤ Swirling sauces onto the inside of the glass or layering inclusions adds contrast, rich flavor, and visual appeal.
Categories
Videos

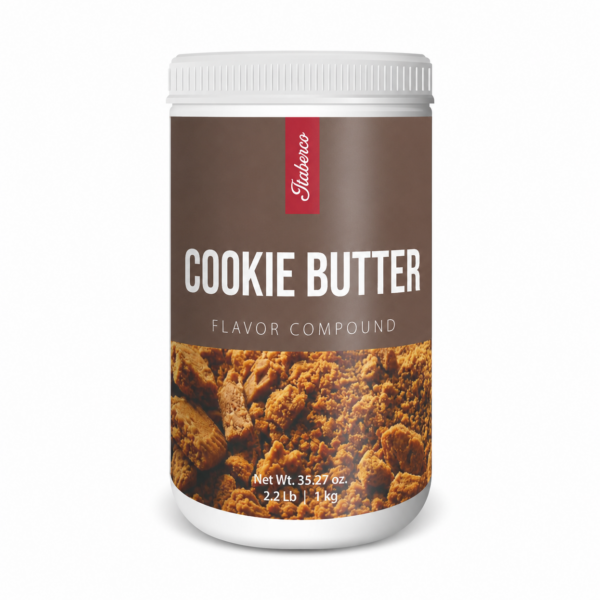
How to Make Flavored Caramel Sauce​ – Itaberco Cookie Butter Flavor Compound

How to Make Flavored Caramel Sauce

Learn how to customize caramel sauce with Itaberco Flavor Compounds

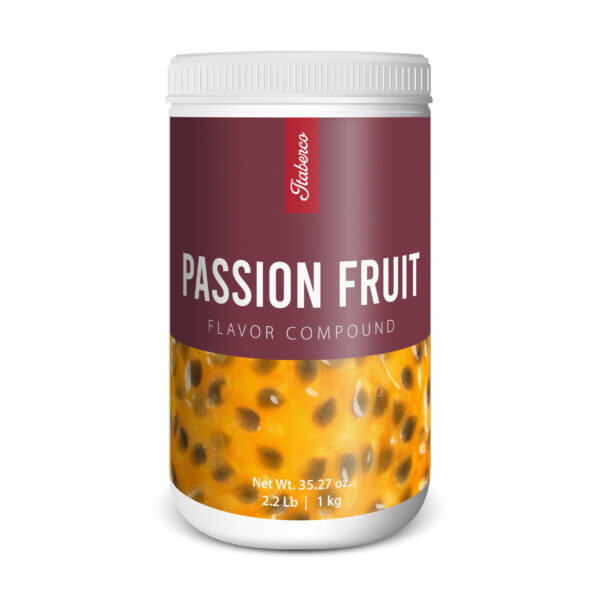
Learn how to create a silky, professional caramel sauce and transform it into a custom menu item using Itaberco Flavor Compounds. In this tutorial, Chef Steve Konopelski demonstrates the technique using our Cookie Butter Flavor Compound, but the same method can be used with any of Itaberco's 65+ flavors to create signature caramel sauces tailored to your menu.

The possibilities are endless, and we're here to help you make it your own.

Pastry Fillings | Cakes | Chocolates | Milkshakes | Plated Desserts | Ice Cream | Gelato | Specialty Coffee Beverages | Dessert Cocktails ... and countless custom applications

📍Ingredients:

Instructions:

Step 1: Prepare the Sugar Base

➤ In a pan, combine water, a splash of honey, and sugar.

➤ Mix with your hands until the sugar is completely hydrated and reaches the consistency of wet sand to prevent crystallization during cooking.

Step 2: Cook the Caramel

➤ Cook the sugar mixture over medium heat until it reaches the blonde caramel stage. Do not overcook, as a burnt sugar flavor will mask the flavor compound.

➤ Once at the blonde stage, mount in the butter and mix until completely melted.

➤ Stream in the heavy cream and mix until everything is fully emulsified.

➤ Return the mixture to a boil for just a moment or two, then remove it from the heat. 

Step 3: Flavor the Caramel

➤ Once the caramel is off the heat, add your chosen flavor compound at a 3% to 5% usage ratio (4% is a perfect middle ground).

➤ Whisk vigorously until the flavor compound is fully incorporated.

Step 4: Cool and Set

➤ Whisk the caramel sauce occasionally as it cools to room temperature to maintain the emulsion.

➤ Transfer the sauce to a container and place it into the refrigerator until it has fully set. Leave the container uncovered until it reaches refrigerator temperature.

Notes:

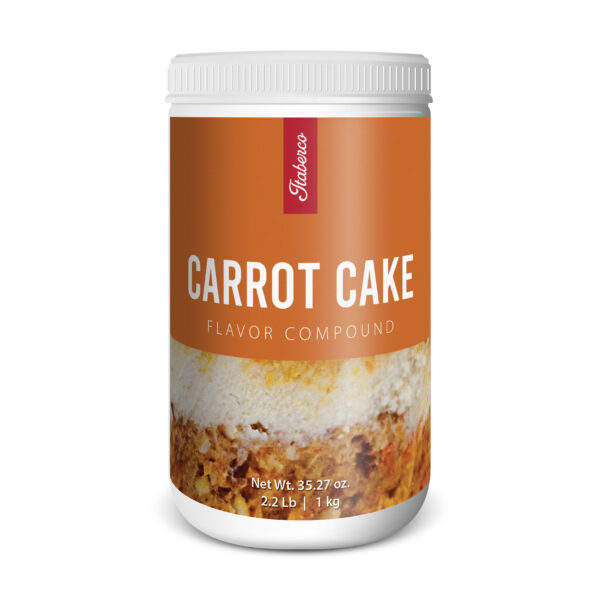
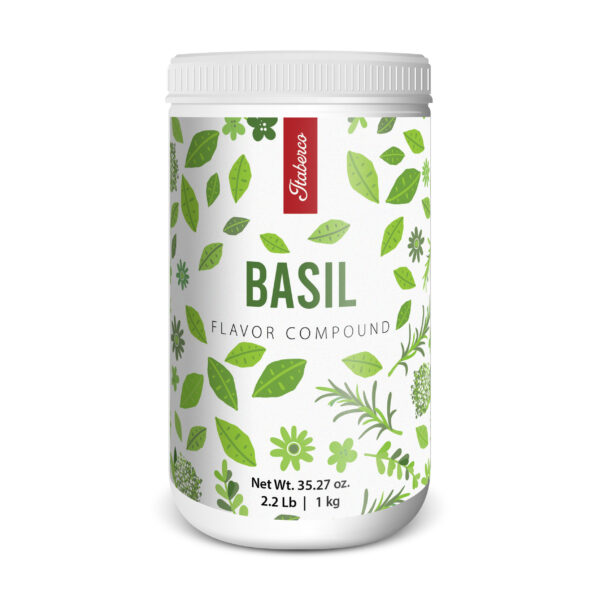
➤ This method works with almost any Itaberco flavor compound, including cookie butter, passion fruit, carrot cake, or basil.

➤ Keeping the container uncovered in the fridge prevents condensation from forming while it cools down to temperature.
Categories
Videos

Chiffon Cake – Itaberco Neutral Sponge Cake Mix

Chiffon Cake – Itaberco Neutral Sponge Cake Mix

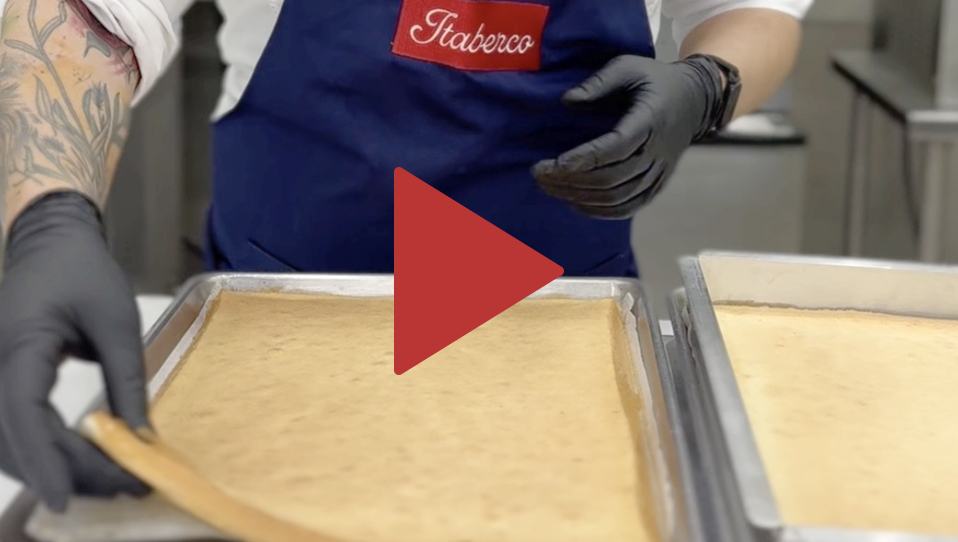
Perfect for pastry chefs and bakers seeking a reliable, elegant base for verrines, entremets, layer cakes, or beautifully soaked desserts inspired by classic European bakeries, Itaberco Chiffon Cake Mix creates a light, airy sponge with a delicate crumb and a subtle hint of vanilla in every bite.

Step-by-Step Instructions:

Ingredients:

Instructions:

Prepare the Batter

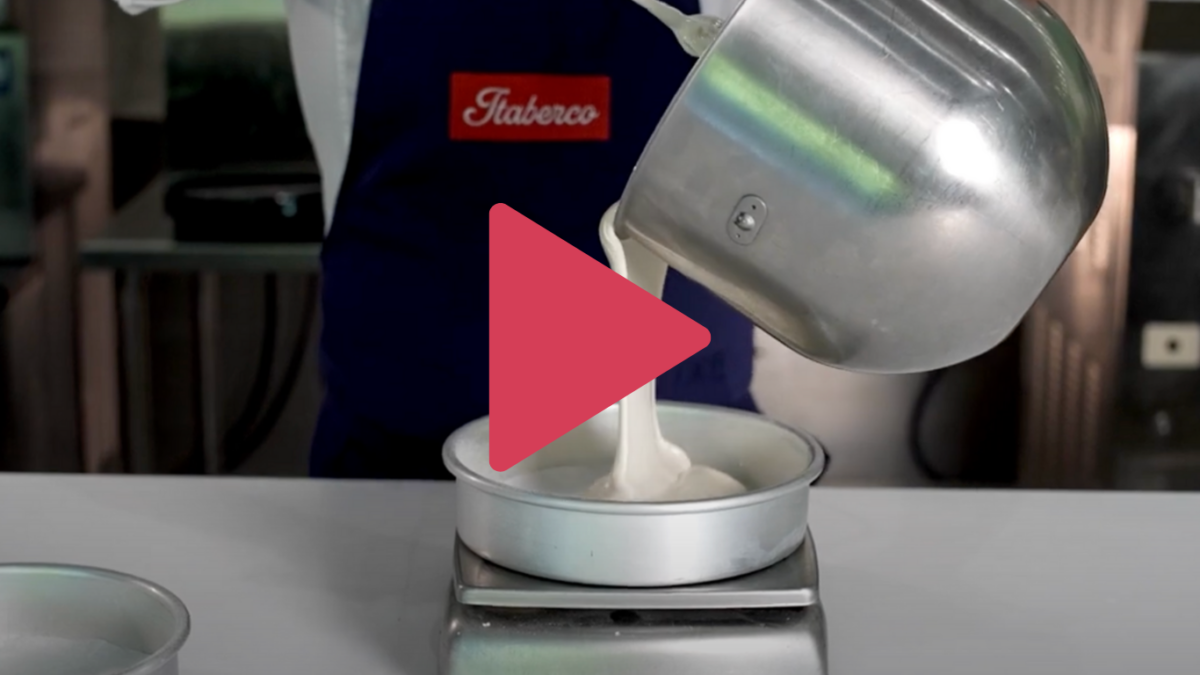
➤ In a stand mixer with a whisk attachment, combine the dry cake mix with all the vegetable oil. Mix on low speed until the mixture is crumbly but fully hydrated.
➤ Add one-third of the water and mix until smooth, then stream in the remaining water. Mix on low until fully combined and lump-free.
➤ Whip the batter at medium speed until it reaches the ribbon stage. Add your chosen flavoring once nearly at this stage.

Make the Meringue

➤ In a clean stand mixer, whip room-temperature egg whites with a pinch of salt on medium speed until frothy.
➤ Gradually add sugar while continuing to whip until the egg whites hold soft to medium peaks.

Combine Batter and Meringue

➤ Fold the meringue into the cake batter in three additions (one-third at a time), using a gentle folding motion to preserve airiness.

Prepare for Baking

➤ Divide the batter between cake pans lined with cake collars. For thicker cakes, use a single collar or multiple smaller pans as desired.

Bake

➤ Bake at 350°F (175°C) until cakes spring back in the center, are golden, and begin to pull away from the sides of the pan.

Cool and Store

➤ Let the cakes cool for about 10 minutes, then remove collars if used. Allow cakes to cool completely.
➤ Store at room temperature for up to 3 days or wrap and freeze for up to 4 months.

Notes:

➤ The recipe works equally well with chocolate cake mix.
➤ For thinner layers, divide batter into multiple pans.

Categories
Videos

Cream of Crab Soft Serve Tutorial

Cream of Crab Soft Serve Tutorial

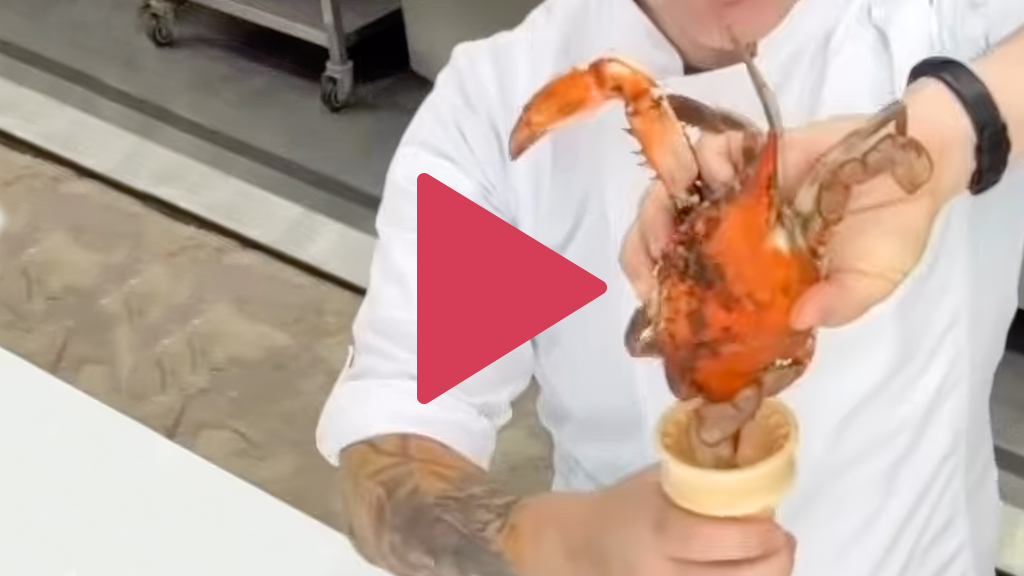
This bold, savory twist infuses fresh crab shells and seasonings into a creamy base, creating a unique appetizer that’s part science experiment, part culinary adventure. Perfect for chefs and flavor explorers ready to push the boundaries of soft serve.

Step-by-Step Instructions:

📍Ingredients:

Step 1: Infuse the Milk

➤ Pour the whole milk into a pot and bring it to a simmer.
➤ Add the crab shells and seasoning from the cooked crabs.
➤ Let the mixture steep for 15 minutes, then cool and refrigerate overnight for maximum flavor infusion.

Step 2: Strain and Mix

➤ The next day, strain out the crab shells to reveal the infused milk.
➤ Add heavy cream to increase richness and a splash of vermouth for depth.
➤ Mix in Itaberco’s neutral soft serve base to create a smooth, ready-to-churn mixture.

Step 3: Churn

➤ Pour the mixture into your soft
serve machine.
➤ Churn until it reaches a creamy, smooth consistency.

Step 4: Taste and Adjust

➤ Sample the soft serve. It should be distinctly crab-forward with a hint of spice and a kiss of vermouth.
➤ This flavor is unique and works best as an appetizer or amuse-bouche rather than a dessert.

Step 5: Finish and Serve

➤ Crush buttercrackers and use as a base or topping for added texture.
➤ Drizzle with olive oil for richness and a fruity note.
➤ Serve as a creative starter, tasting menu item, or small bite.

Notes:

➤ This is a savory soft serve, perfect for chef-driven, inventive applications.
➤ The neutral soft serve base allows the crab flavor to shine without interference.

Categories
Videos

One Mix, Nine Variations: Exploring Cake Mix Techniques with Itaberco Neutral Sponge Cake Mix 

One Mix, Nine Variations:

Cake Mix Techniques with Itaberco Neutral Sponge Cake Mix

Looking for light, airy sponge cake with consistent results—without the hassle? Chef Steve shows how easy it is to create bakery-quality sponge cake using Itaberco’s Sponge Cake Mix.

At Itaberco, we believe even the smallest changes can make the biggest impact.

In this video, we put our Neutral Cake Mix to the test – baking nine different variations using small adjustments in method, ingredients, and baking temperatures. From the simplest “dump-and-mix” approach to more advanced techniques like the two-stage method, whipping to ribbon stage, or swapping butter for oil and milk for water, each variation shows how texture, crumb, and flavor can completely transform from the same base mix.
What you'll learn:

  • How mixing methods affect cake texture and volume.
  • The impact of baking temperature on color and density.
  • How fat type (oil vs. butter) changes tenderness and flavor.
  • Why ingredient swaps like milk and sugar make a big difference.
  • Tips for creating cakes that stay moist and tender for days.

Get in touch with our Chef Support today to learn more

Categories
Videos

Effortless Sponge Cake Every Time with Itaberco’s Sponge Cake Mix

Effortless Sponge Cake Every Time with Itaberco's Sponge Cake Mix

Looking for light, airy sponge cake with consistent results—without the hassle? Chef Steve shows how easy it is to create bakery-quality sponge cake using Itaberco’s Sponge Cake Mix.

Perfect for layer cakes, roulades, cupcakes, and plated desserts, this mix delivers a tender crumb, beautiful rise, and exceptional versatility. Just add eggs and water, and you’re ready to bake like a pro.

In this video:

✔️ Step-by-step instructions

✔️ Pro tips from Chef Steve

✔️ Creative applications and plating inspiration

Whether you’re running a high-volume bakery or a boutique pastry kitchen, this mix saves time without sacrificing quality.

Watch to see how it works, how to apply it, and what makes it a must-have in any kitchen. or product inquiries, contact us today!

In this Video you will learn how to:

  • Properly mix and hydrate the sponge cake batter
  • Whip to the ribbon stage for ideal texture
  • Incorporate flavor compounds without deflating the batter
  • Bake, cool, and store sponge cakes for maximum freshness and flexibility

A reliable sponge cake recipe is the foundation of many bakeshop or high-volume establishment menus. Having a recipe that is consistent, delicious, and can serve multiple applications is critical for any pastry chef or baker. Thankfully, the Itaberco Sponge Cake Mix produces a consistent product with maximum results and minimal preparation time. Additionally, the Sponge Cake Mix can be flavored using any one of the Itaberco Flavor Compounds, creating versatility and flexibility for your dessert program or cake menu.

Step-by-Step Instructions:

Step 1: Add Liquids to Bowl

📍Ingredients:

  • Water
  • Neutral oil

Step 2: Add Cake Mix

➤ Add Itaberco Neutral Sponge Cake Mix to the liquids.

Step 3: Mix on Low Speed (2 Minutes)

➤ Fit mixer with whisk attachment.

➤ Mix on low speed for 2 minutes to hydrate.

Step 4: Scrape Bowl

➤ Stop and scrape down sides and bottom to ensure full hydration.

Step 5: Whip to Ribbon Stage

➤ Increase speed to medium-high.

➤ Whip until batter reaches ribbon stage (batter should fall in ribbons that sit on top before blending in).

Step 6: Flavor the Batter

📍Ingredient:

Itaberco Flavor Compound (use Lemon for this demo)

➤ Add 5–8% of total batter weight.

➤ Gently fold in until fully combined.

Step 7: Pour into Pans

➤ Use greased and parchment-lined pans.

➤ Pour in batter evenly.

Step 8: Bake

📍Bake at: 325°F / 163°C

➤ Bake until:

  • Golden brown
  • Center springs back
  • Toothpick comes out clean

Step 9: Cool and Unmold

Let cakes cool fully on racks before unmolding.

Step 10: Store Properly

➤ Once cool:

  • Wrap in plastic
  • Store at room temp (up to 3 days) or freeze (up to 6 months)
Categories
Videos

Mastering Flavor Layering with Itaberco

Mastering Flavor Layering with Itaberco

Want to take your desserts, drinks, and frozen treats to the next level? In this video, Chef Steve breaks down the art of layering flavor using our versatile line of Itaberco Flavor Compounds.

From bright fruit notes to deep floral and earthy tones, learn how to:

  • Build complexity in any recipe
  • Highlight and balance top, middle, and base notes
  • Use multiple compounds together for bold, signature creations

Whether you’re a pastry pro, mixologist, or gelato genius—this is your shortcut to unforgettable flavor.

Watch now and start experimenting with intention!

The Art of Layering Flavor in Pastry

Elevating desserts with depth, contrast, and Itaberco Flavor Compounds

In pastry, we often focus on technique, texture, and presentation—but the true magic lies in flavor. More specifically, in the layering of flavor.

Chef Steve shares:

“I’ve been reflecting a lot on the importance of flavor—especially the art of layering. In the pastry world, this can sometimes be overlooked, but it’s this complexity and depth that can transform something from simply delicious to truly extraordinary.”

Layering flavors is a subtle, intentional process. It’s what makes a guest pause mid-bite, trying to figure out that “something special” they can’t quite place. And while developing nuanced flavor usually requires time and technique, Itaberco Flavor Compounds simplify the process—making it easy to add contrast and character with minimal effort.

Five Flavor Compounds That Transform a Dessert

These are Chef Steve’s go-to picks for building depth into pastry applications—from delicate mousses to plated desserts and frozen treats:

Basil

Naturally sweet with a hint of herbal freshness, basil pairs beautifully with fruits like berries, citrus, pineapple, and melon. It also shines in more savory-leaning creations like burrata soft serve or a ricotta cheesecake.

Rosemary

When used gently, rosemary brings a warm, earthy note to desserts with apples, pears, oranges, or grapefruit. A little goes a long way, creating a refined twist on classic fruit pairings.

Hibiscus

Bright, tart, and floral, hibiscus balances the sweetness of fruits like cherries and strawberries, while adding contrast to citrus and tropical flavors like pineapple.

Caramel

Often treated as a standalone flavor, caramel is actually a great layering ingredient. A small amount can amplify the richness of mangoes, peaches, or plums, adding subtle sweetness and depth.

Espresso

Espresso’s bold bitterness pairs naturally with chocolate, but its real strength is in adding complexity to flavors like caramel, vanilla, and toasted nuts. Use it sparingly for a sophisticated edge.

A Simple Way to Create Signature Flavor Profiles

The best part? Itaberco Flavor Compounds make it easy to incorporate these layered notes into any base—whether you’re working with pastry cream, soft serve, ganache, sponge cake, or glaze. No infusions. No reductions. No steeping. Just pure, concentrated flavor that helps you move quickly without sacrificing quality.

So, the next time you’re crafting a dessert, get creative and explore the flavor boost one of these compounds can offer. The difference may be subtle—but your guests will taste it.

Explore our full line of Flavor Compounds

Categories
Videos

How to Use Itaberco Neutral Glaze Like a Pro

How to Use Itaberco Neutral Glaze Like a Pro

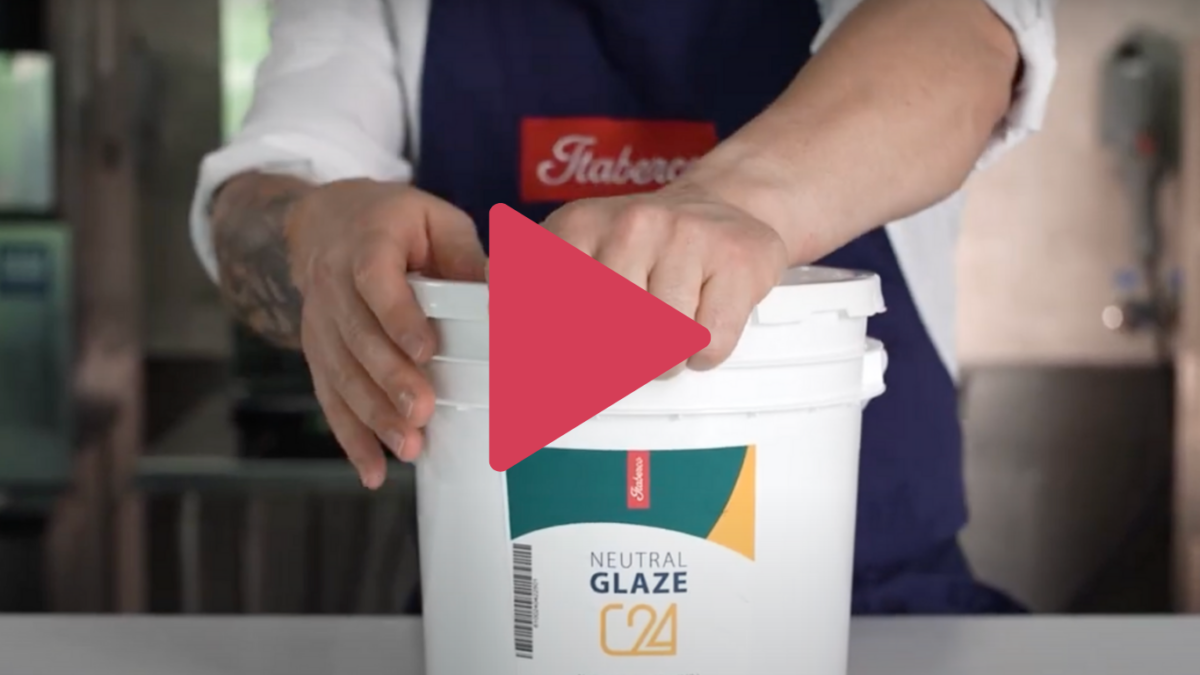
Want your desserts to shine—literally and figuratively? In this video, Chef Steve demonstrates how to use Itaberco’s Neutral Glaze to elevate pastries, fruit tarts, and plated desserts with a beautiful, professional finish.

Our Neutral Glaze offers exceptional clarity, sheen, and performance—all at a better value than other options on the market. Whether you’re glazing fresh fruit or adding a final touch to mousse cakes, this versatile ingredient is a game-changer for pastry chefs and bakers alike.

Watch to see how it works, how to apply it, and what makes it a must-have in any kitchen.

Chef Steve's instructions and notes:

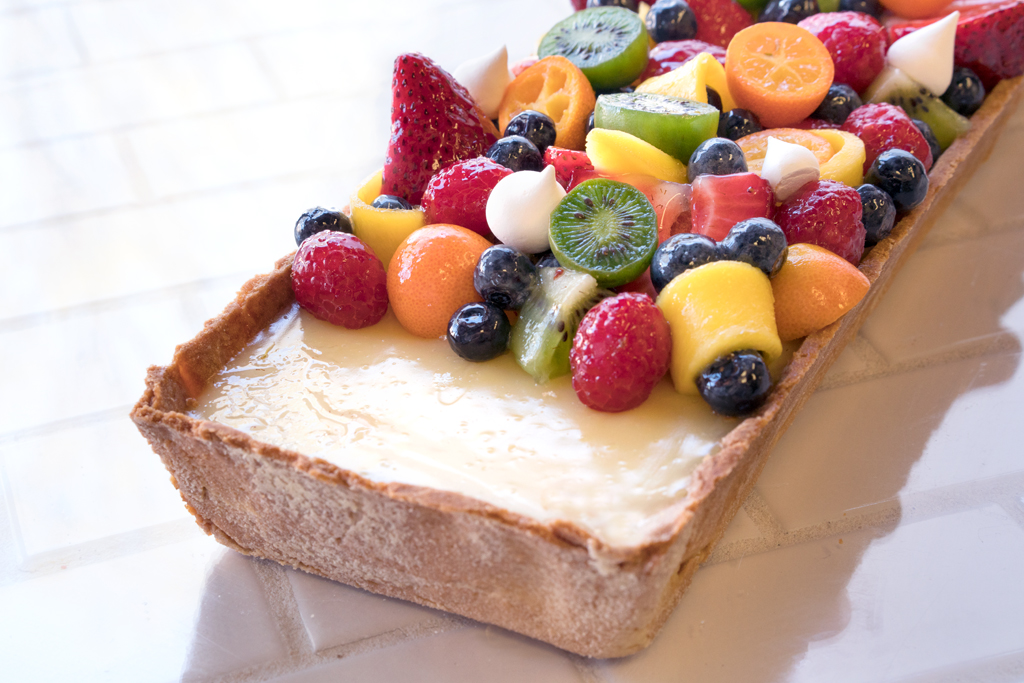
Pastries or cakes topped with fresh fruit need a protective layer to lock in moisture and prevent the fruit from discoloring or oxidizing, especially if the fresh fruit has been cut. Another benefit from a glaze is the added shine it gives to freshly baked pastries, especially delicate ones like croissants or danish. Many pastry chefs make their own glaze using jam, which may not be the most cost effective, creates food waste if the jam needs to be strained, and can leave a noticeable flavor, such as apricot or strawberry. 

Thankfully, the Itaberco Neutral Glaze has no color or flavor, making it a versatile product for any pastry application and is a shelf-stable product, even after opening. Additionally, the Itaberco Neutral Glaze can be flavored using any one of the Itaberco Flavor Compounds, creating versatility and depth of flavor in application.

Instructions:

  1. To start, place 150 g of the neutral glaze in a quart container or similar.
  2. Add 22 g of hot water to the container and blend using an immersion blender.  Add additional water if necessary to achieve the desired viscosity.
  3. If desired, add an Itaberco Flavor Compound to add color and flavor, or keep the glaze neutral, depending on your desired application 

 Notes:

  • The glaze is best used at about 90F; if it gets too cool during use, simply warm it in a double boiler or place it in the microwave for a few seconds to rewarm.
  • To use the glaze simply:
  • Brush the glaze onto freshly baked pastries while they are still warm for shine and to help extend the shelf life.
  • Toss fresh fruit in the glaze before placing on top of a cake or tart for even distribution
  • Dip mini mousse or entreme desserts in the glaze for added shine and flavor
  • In cold applications, the glaze will set up quickly while in warm applications it will be smooth to the touch and set in about 30 minutes.
  • For best results, strain the glaze to remove impurities after use and store unused glaze in a tightly covered container in the refrigerator for up to 1 week.
  • Stored glaze can be rewarmed using a microwave or baine marie until the desired consistency has been reached.

The shelf-stable and clean label Itaberco Neutral Glaze makes it easy to add shine and stability to a multitude of desserts with an ease of preparation that provides maximum results. Now that’s an ingredient for a sweeter life!


Streamlined Prep. Exceptional Results.


For more information on our products and mixes, or for recipes and inspiration, browse our products and check our recipe handbooks.
Categories
Videos

How to Make Crème Brûlée, Crème Anglaise & Tart Filling with Itaberco’s Custard Mix

How to Make Crème Brûlée, Crème Anglaise & Tart Filling with Itaberco’s Custard Mix

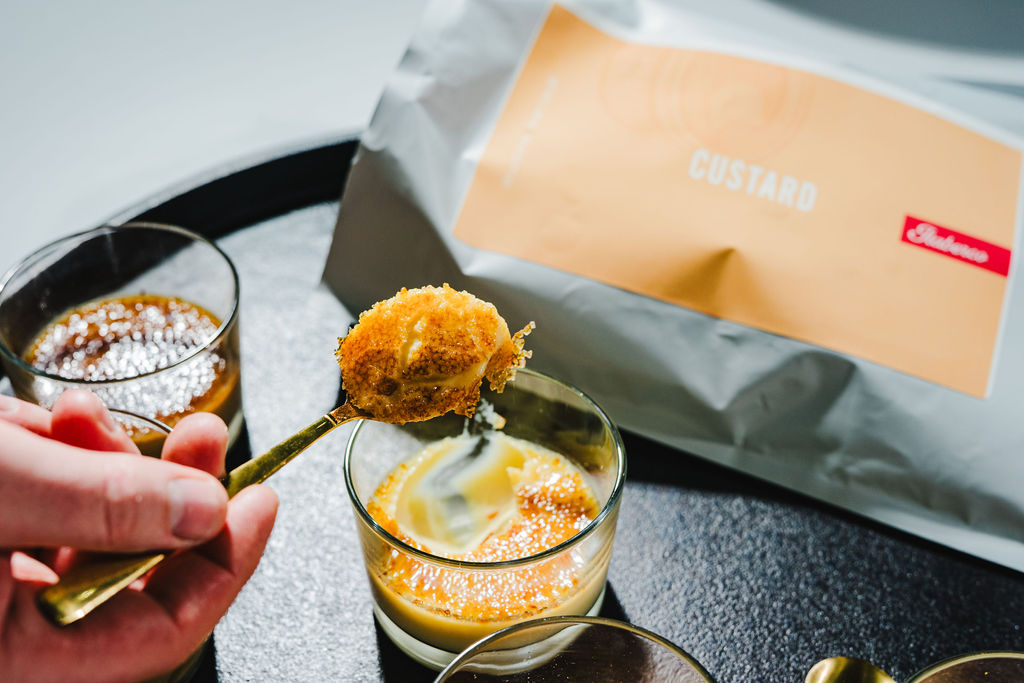
Discover the incredible versatility of Itaberco’s Custard Mix. From silky-smooth crème brûlée—no water bath required—to classic crème anglaise and rich tart filling, this one mix makes it all effortless. Whether you're a pastry chef or a product developer, discover how to save time without compromising on quality.

In this video, you’ll learn:

  • No water bath needed for crème brûlée
  • Consistent, premium results
  • Multiple applications from one high-quality base

Perfect for bakeries, restaurants, and dessert manufacturers looking to streamline prep while elevating their menu.

Pastry Custard Mix Process
(3 recipes, One mix)

Traditional Crème Brulée recipes requires both stove top and oven preparation, creating multiple steps and clogging valuable oven space, especially when a water bath is needed.

Crème Brulée can also be challenging to flavor, often requiring additional steps like infusing the cream, then cooling and straining it before reheating and adding the sugar and egg yolks.

Thankfully, the Itaberco Pastry Custard Mix is a stove top only preparation, requiring no oven or water bath, maximizing efficiency and ensuring a consistent product every time.
  • Unlike other crème brûlée mixes on the market, the Itaberco Custard Mix can also be used to make a rich and silky tart filling by simply replacing the half and half in the recipe for heavy cream.
  • Furthermore, by changing the liquid to mix ratio and cooling the custard with an ice bath, the Itaberco Pastry Custard Mix can also be used to make a beautifully delicate anglaise sauce.
  • Additionally, the Itaberco Pastry Custard Mix can be flavored using any one of the Itaberco Flavor Compounds, creating versatility and flexibility for your dessert program.

Crème Brûlée Instructions:

Tart Filling Instructions:

  1.  To make a tart filling using the Itaberco Pastry Custard Mix, follow the same method for making crème brûlée, except use only heavy cream and custard mix instead of a combination of half and half and heavy cream with the custard mix.
  2.  Cook the custard while whisking, maintain the boil for 30 seconds, add the flavoring off the heat, and blend with an immersion blender for 30 seconds.
  3. Pour the finished tart custard into blind baked or ready to use tart shells and place them in the refrigerator to set up overnight.
  4.  Once the custard has set, decorate your tarts as desired for final presentation and store the finished tarts in the refrigerator for up to 5 days.

Creme Anglaise Instructions:

Imagine the endless possibilities the Itaberco Pastry Custard Mix can provide for your dessert program with minimal effort and maximum results. Show-stopping crème brûlée, decadent custard tarts, and silky crème anglaise are easier than you think. Now that’s an ingredient for a sweeter life!
Categories
Videos

How to Make Soft Serve with Itaberco’s Neutral Soft Serve Mix

How To Make Soft Serve with Itaberco's Neutral Soft Serve Mix

Discover the versatility and ease of Itaberco's Neutral Soft Serve Mix in this step-by-step tutorial! Whether you're crafting classic vanilla, indulgent chocolate, or custom flavors, our premium mix is the perfect base to create creamy, delicious soft serve.

In this video, you’ll learn:

  • How to properly mix and prepare Itaberco’s Neutral Soft Serve Mix 
  • Tips for customizing flavors to match your menu
  • Best practices for achieving the perfect texture

Perfect for ice cream shops, dessert businesses, or anyone passionate about crafting high-quality frozen treats. Watch now and elevate your soft serve game with Itaberco!

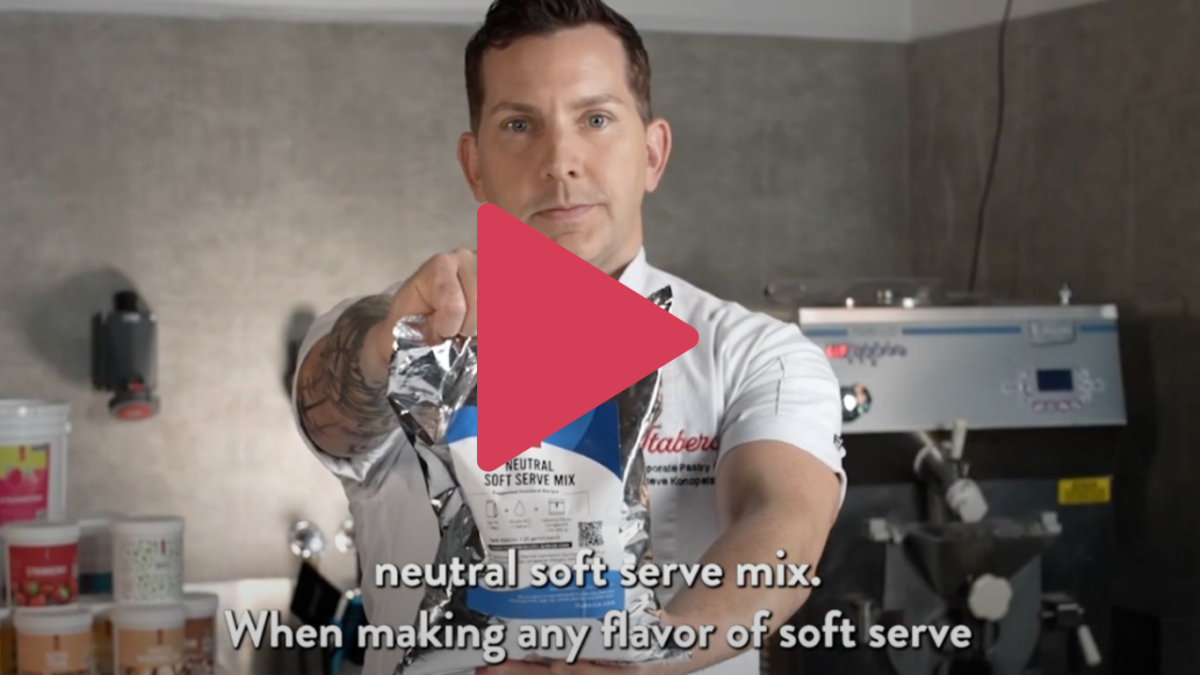
When making any flavor of soft serve, there are many things to consider…like the liquid to solid ratio, the amount of sugar in the recipe, and the amount fat used to create the perfect texture.

Often different flavors require different preparations, which can be time consuming and difficult to calculate.

Thankfully, the Itaberco Neutral Soft Serve Mix makes creating a variety of flavored soft serves easy, by taking care of the sugar to solid and liquid ratio, allowing you to focus on crafting your ideal flavor profile. Additionally, our Neutral Soft Serve Mix can be flavored using any one of the Itaberco Flavor Compounds, creating versatility and flexibility for your soft serve program.

  • To start, measure out 4000 grams of whole milk. For a richer texture, substitute 500 grams of the whole milk with heavy cream.
  • Next, add your Itaberco Flavor Compound of choice, at a ratio of 3-5%, or create your own unique blend by mixing two or three flavor compounds in combination.
  • Flavor can also be added by infusing the milk with various aromatics prior to beginning the process.  
  • Lastly, add the Itaberco Neutral Soft Serve Mix and blend using an immersion blender for a minimum of 90 seconds, to hydrate the sweeteners and stabilizers and ensure everything is well incorporated.
  • Pour your soft serve mix into the hopper of your soft serve machine and process according to the manufacturer’s instructions.
 Note: The soft serve mix can also be made up to 24 hours in advance and stored in a refrigerator until ready to use. If doing this method, be sure to blend the mix again prior to pouring it into the machine to account for any settling that may have happened.
Creating a unique soft serve menu couldn’t be easier, thanks to the Itaberco Neutral Soft Serve Mix.
Solutions for a craft soft serve program with no complicated calculations or complex flavoring techniques. Now that’s an ingredient for a sweeter life!

For more information on our products and mixes, or for recipes and inspiration, visit Itaberco.com  
Categories
Videos

Our Guide to Making Caramel Macchiato Banana Pudding

Our Guide to Making Carmel Macchiato Banana Pudding

Join our expert Itaberco Pastry Chef as he takes you on a step-by-step journey to create an indulgent Caramel Macchiato Banana Pudding! This elevated twist on a classic dessert blends bold, vibrant flavors with Itaberco's premium flavor compounds and versatile pastry mixes.

In this video, you’ll learn how to expertly combine:

  • Banana Flavor Compound – For that rich, authentic banana taste.
  • Espresso Flavor Compound – For a coffeehouse-inspired kick.
  • Dulce de Leche Flavor Compound – For a luscious caramel sweetness.

Watch as he demonstrates the art of layering these flavors to create a pudding that’s as beautiful as it is delicious. Whether you’re a professional pastry chef or a dessert enthusiast, this video is packed with tips and tricks to inspire your next creation!

Categories
Videos

How To Make Vegan Soft Serve

How to Make Vegan Soft Serve

Looking to create the perfect vegan soft serve? Join Chef Steve as he walks through the step-by-step process of crafting creamy, delicious plant-based soft serve using Itaberco's Dairy Alternative Mixes and Flavor Compounds!

In this video, you’ll learn:

  • How to prepare our versatile dairy alternative base for soft serve.
  • Tips for achieving the ideal texture and consistency without dairy.
  • How to incorporate our flavor compounds to create bold, exciting flavors.

Whether you’re a dessert shop owner or just love exploring new recipes, this video will inspire you to elevate your vegan dessert game! Itaberco’s mixes and compounds are designed to deliver premium quality and taste, ensuring your customers will never miss the diary. 

When making dairy alternative soft serve, there are many things to consider…like the liquid to solid ratio, the amount of sugar in the recipe, and the amount fat used to create the perfect texture.

Often different dairy alternative milks create different flavor and texture notes, which can make crafting vegan soft serve additionally complicated.

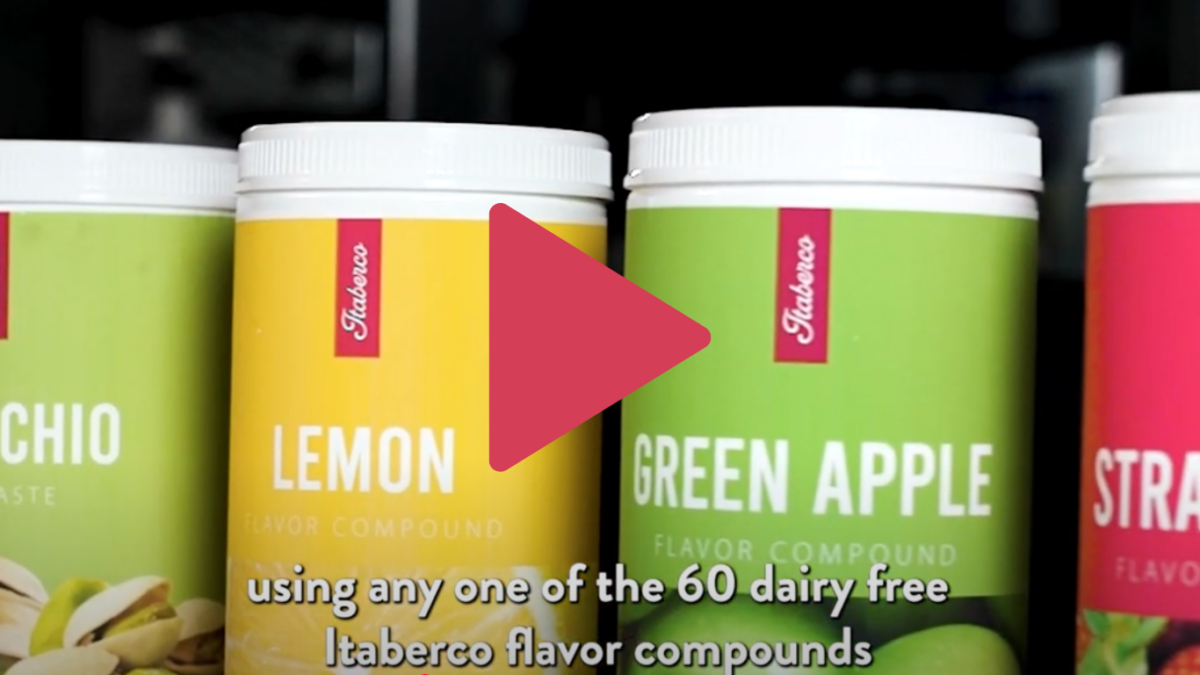
Thankfully, the Itaberco Dairy Alternative Soft Serve Mix makes creating a variety of flavored soft serves easy, by taking care of the sugar to solid and liquid ratio and uses plant-based stabilizers, allowing you to focus on crafting your ideal flavor profile. Additionally, the Itaberco Dairy Alternative Soft Serve Mix can be flavored using any one of the 60 plant-based Itaberco Flavor Compounds, creating versatility and flexibility for your vegan soft serve program.

  • Pour your soft serve mix into the hopper of your soft serve machine and process according to the manufacturer’s instructions.
 Note: The soft serve mix can also be made up to 24 hours in advance and stored in a refrigerator until ready to use. If doing this method, be sure to blend the mix again prior to pouring it into the machine to account for any settling that may have happened.
Solutions for a vegan soft serve program with no complicated calculations or complex flavoring techniques. Now that’s an ingredient for a sweeter plant-based life!

For more information on our products and mixes, or for recipes and inspiration, visit Itaberco.com  
Categories
Videos

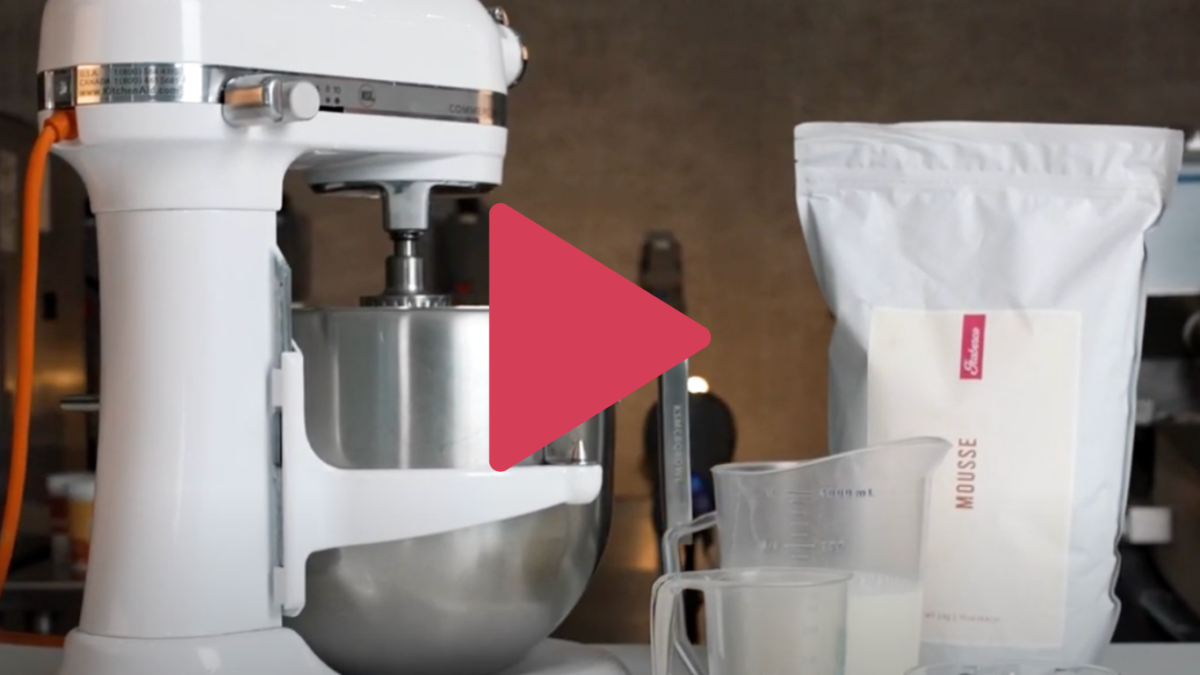
How to Make & Flavor Mousse with Itaberco’s Mousse Mix

How to Make & Flavor Mousse with Itaberco's Mousse Mix
Step-by-Step Guide

Discover the endless possibilities of Itaberco's versatile Mousse Mix! In this video, we'll show you step-by-step how to prepare the perfect mousse and customize it with your favorite flavors. Whether you're creating a decadent dessert, filling for pastries, or a creative twist on classic recipes, our mousse mix offers unmatched consistency and flavor.

Learn tips and tricks from our expert chefs and elevate your dessert game effortlessly.

Ready to impress? Watch now and unlock the secret to creating mousse masterpieces with Itaberco!

Traditionally, Mousse is thickened with egg yolks whipped with a cooked sugar syrup or with the addition of gelatin and requires folding in whipped cream to create an airy consistency. It can also be difficult to flavor, often requiring additional steps like infusing the cream, then cooling and straining it before whipping.

Thankfully, the Itaberco Mousse Mix eliminates extra flavoring steps and contains plant-based stabilizers and sweetener, maximizing efficiency and minimizing labor intensive techniques while extending the shelf-life of the finished product. Additionally, the Itaberco Mousse Mix can be flavored using any one of the Itaberco Flavor Compounds, creating versatility and flexibility for your dessert program.

 Note: Keep in mind that the mousse will thicken up further as it sits, so the best practice is to allow your mousse to rest overnight, then pipe or spread it as needed the following day.
Thick and flavorful Mousse in a matter of minutes – now that’s an ingredient for a sweeter life!


For more information on our products and mixes, or for recipes and inspiration, visit Itaberco.com  

There’s a More Efficient Way to Make Pastries
Categories
Videos

Make Gelatin-Free Panna Cotta with Itaberco Panna Cotta Mix

How to Make Gelatin-Free Panna Cotta with Itaberco Panna Cotta Mix!

In this video, we’ll show you how easy it is to prepare smooth, creamy, and consistent panna cotta using Itaberco Panna Cotta Mix – completely gelatin-free!

Designed specifically for restaurants, hotels, bakeries, and other hospitality businesses, this premium mix ensures that you can consistently serve a high-quality dessert with minimal preparation time. Whether you’re catering to dietary preferences or simply streamlining your kitchen operations, Itaberco Panna Cotta Mix delivers restaurant-grade results every time, with no gelatin required.

Streamline your dessert offerings and spoil your guests with this classic Italian treat. Ready to enhance your menu? To order Itaberco Panna Cotta Mix in bulk for your business, visit our How To Order page to locate a distributor near you. Subscribe for more tips, recipes and dessert solutions!

Panna Cotta translates to cooked milk and typically uses gelatin so it can set up thick enough to unmold, if desired. This addition of gelatin can make panna cotta unavailable to people with certain dietary restrictions due to culture, diet, or beliefs.

It can also be difficult to flavor, often requiring additional steps like infusing the milk, then cooling and straining it before reheating and adding the sugar and gelatin.

Thick and flavorful Panna Cotta that’s gelatin-free – now that’s an ingredient for a sweeter life.
For more information on our products and mixes, or for recipes and inspiration, visit Itaberco.com